Written by: Paul Guerrier & Tim Abbott, Moog Inc.
Introduction
Tracking and tracing the provenance of high quality parts for regulated applications using a Blockchain enabled solution such as VeriPart™ has clear advantages over current methods. Using VeriPart™, paper or disconnected digital records are replaced by an immutable chain of events and operations. Using this new technology the number of participants involved is not limited. Thus, the history of ordering, manufacturing and in-service use of any component or raw material within an assembly becomes easier to obtain. The same level of tracking can be performed across multiple organizations. Ordering of new assemblies or components is also simplified with pre-set terms and conditions.
Following on from successful VeriPart™ demonstrations by Moog, alongside partners and customers one gap remained, the link between the digital and physical world. (The digital representation of a real part or process is often referred to as a “digital twin”. Currently there can be many different types of digital twin including: a CAD solid model, a dynamic performance model, a supply chain model, etc.) For the VeriPart™ enabled future state to operate and provide a (supply chain) digital twin, each component to be tracked and traced must include a unique identifier (ID). This unique ID links the physical component to its digital twin and its provenance on the Blockchain. Moog has been evaluating options for this key technology step. This blog post describes the progress with one method offered by Alitheon.
Alitheon, Inc.
Alitheon’s FeaturePrintTM service uses off-the-shelf cameras and proprietary software to transform the unique surface characteristics of individual objects into a digital ID. In the same way that people can be identified via fingerprints, every physical object is unique and can be identified using the small differences inherent in each instance.
Further information is available at https://www.alitheon.com
The Test
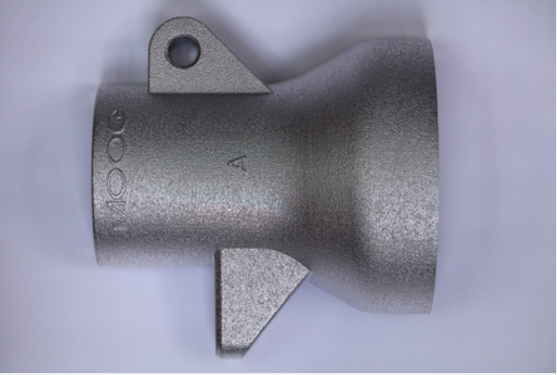
Twenty parts were produced at Moog via additive manufacturing. Secret features were included in these parts. Details of these were not shared with Alitheon.
After cleaning, all 20 parts were sent to Alitheon, which registered each part by imaging it, creating a FeaturePrintTM ID. Alitheon sealed each part in a numbered bag and then returned them to Moog. At Moog each part was then inspected and the secret identify confirmed. This provided a table of Moog Identification vs Alitheon Identification.
A member of the Moog Additive Manufacturing Center team then selected 9 parts of the 20 and subjected them to various types of aggressive wear to simulate various usage conditions. Wear simulations included:
- Dropping the part onto a concrete floor 10 times
- Attacking the part with a handheld motorized grinder
- Harperizing the part, a form of vibratory deburr
- Grit Blasting the part
The parts were then shipped back to Alitheon without any identifying numbers or features for re-inspection and re-identification. Following identification at Alitheon using the FeaturePrintTM ID, parts were returned to Moog and the identification confirmed using the secret feature.
Results & Explanation
Alitheon was able to accurately identify the 20 additively manufactured parts, including the 9 subjected to aggressive wear. This is an exciting demonstration of Alitheon’s FeaturePrintTM technology applied to parts produced via additive manufacturing.
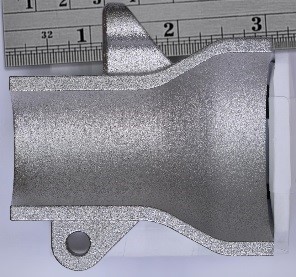
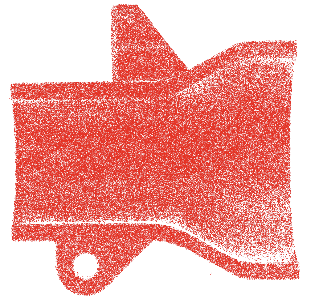
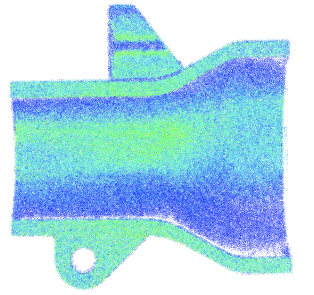
The conversion of the part's image to a FeaturePrintTM ID involves discovering and recording points of interest, characterizing those points of interest, and building a math model based on those points of interest, thereby converting the physical object to a digital ID.
-
![Column Item]()
Base of Subject Part
-
![Column Item]()
Points of Interest
-
![Column Item]()
Prioritized POI
-
![Column Item]()
Immutable Matrix
Figure 2 Part Conversion from Metal to FeaturePrintTM Matrix
This study also shows the robustness of a FeaturePrintTM ID, after a substantial proportion of a part’s total surface area has been modified. In this example, one area of a component used contained over 54,000 points of interest. After grit blasting, 3700 or less than 10% of the original points of interest remained which was sufficient to positively identify the part.
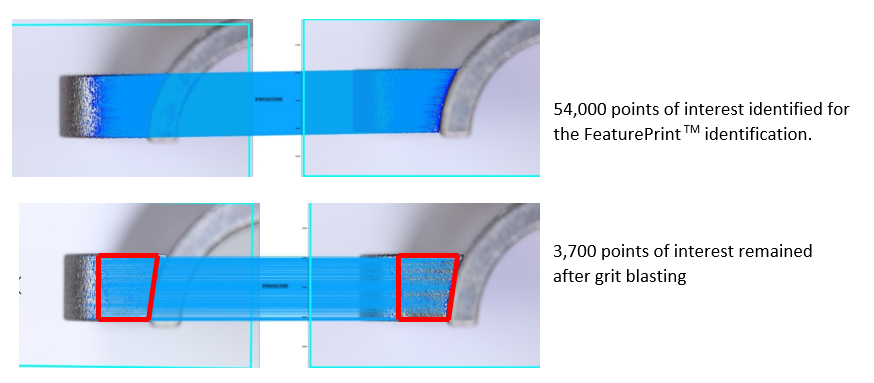 Figure 3 Points of Interest Pre and Post Grit Blasting, Blue Lines Indicate Matched Points of Interest


